Steps to take so that your Google AdSense Hosted is upgraded to Non-hosted
Back in the days, submitting a request for an AdSense account through YouTube or any blogspot which was easily approved became a place for low quality and spamming blogs. Hence, Google decided to change its policies offering two types of Google AdSense accounts: hosted and non-hosted.
Let’s see first how you can set them apart and second the aspects you should take into consideration before submitting your request for a non-hosted account.
Google AdSense Hosted Account
Hosted AdSense account is the account that you sign up for utilizing Blosgspot, YouTube, HubPages, which are partner sites of Google. Google allows you to own one AdSense account that you can use to generate money from non-hosted websites and other websites as well. However, applying and using your AdSense account should comply with Google’s policies and terms. When you apply for the hosted AdSense account, the blog or website you own have to accomplish the quality required by Google. Your request will be reviewed manually by Google’s team of experts.
Google AdSense Non-Hosted Account
Whereas getting an AdSense hosted account is easy, owning an AdSense non-hosted account is not as easy as it used to be due to the previously mentioned reasons. The non-hosted account is the type which can be used on any website owned by you on domains like .org, .net or .com.
Before placing your ads on other websites, your account has to be approved or else, the ad place will be white.
Some aspects you should check first before submitting your request for a non-hosted account
- It is highly important to provide quality content on your blog. Quality content means useful and informative, free from spelling and grammar mistakes, and long enough articles.
- Add a good number of posts. A high number of posts do not equal quality content so better upload a minimum of 20 good quality posts rather than 300.
- Mind the type of your content. There are some content types which are not accepted by AdSense: pirated content, adult materials, illegal drugs, hacking and cracking tutorials and other illegal activities.
- Create a privacy page for your blog. Even though there are people who dismiss the importance of having a privacy page for a blog, Google does not. This requirement is important as it is a proof that you are not a scam.
- Do not forget to complete the About us and Contact us sections on your blog. The About us page not only allows you to create a trustworthy relationship with your readers but without filling the About us section, your AdSense account will not be approved. Also, setting up the Contact us page bears the same importance as the About us page. Creating a contact page shows Google that you care for your customers.
- Do not forget to verify your email and name in a visible area. This will speed up the verification process nd you will be able to enjoy faster a fully approved AdSense account.
- You have to be above 18 which give you the possibility to use the same payee name as on your bank account.
- Your website besides its good design it should load rapidly. A clean, professional and fast-loading design is highly appreciated by Google.
- You have to use domains such as .net and. org for your blog. It is highly important to own a unique domain which is specific for your blog. If you do not have one, then it is important to use a top level domain otherwise, Google will not approve your account.
While longevity is not as important for Google as the relevance of the blog content for the audience, Google will still check it. Whereas some users have mentioned that Google approved their account even though the blog was active for less than 5 weeks, some others have complained that even if their blog was active for more than 6 months, Google did not approve it.
- The content on your blog/ website has to be optimized using the appropriate keywords for the search engines.
- It is best if you remove other advertising networks. Make sure that your bog is free from ads.
- Do not submit your request for an AdSense account if your blog is getting paid traffic. Organic traffic is the best solution accepted by Google.
Upgrading your hosted account into a non-hosted in 6 steps
As we have previously mentioned, a quality website is a first step in the process of non-hosted AdSense approval. Second, you are required to submit your request for the upgrade which will be reviewed by Google’s team of experts. Here is what you have to do step by step:
- Log in your own AdSense account.
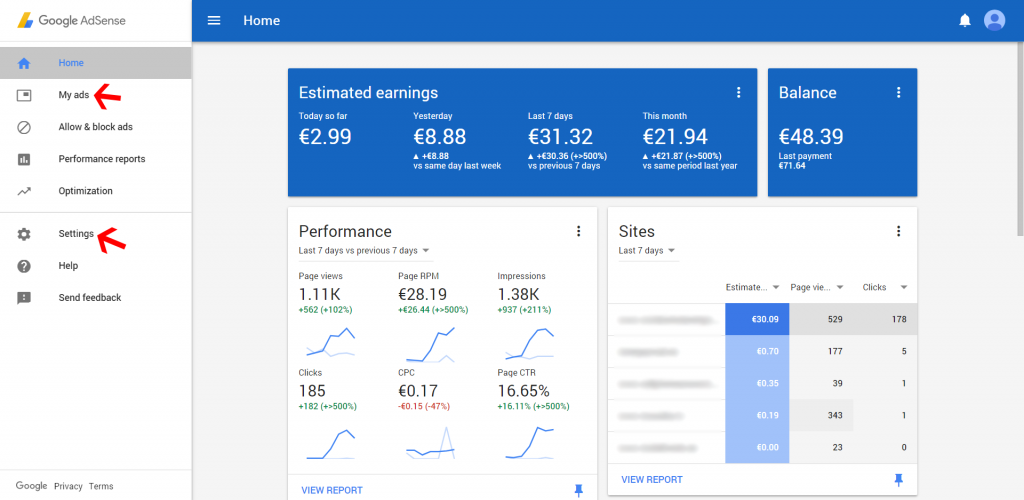
- Look for the gear icon, click on it and select the settings option.
- On your left side click on the “Access & Authorization” section which will display a number of options. However, you have to click the first one named “Site authorization”.
- After clicking “Site authorization”, the “Show ads on other websites” page will be displayed. Enter the URL of the website where you intend to display your ads.
- Click the “Submit” option. After you submit your request, it is important to add the AdSense code in the blog you have previously submitted above.
- Add the AdSense code to your blog/ website. How do you do that?
- Log in your AdSense account and click My Ads tab.
- Click “Content” option.
- Click “+ New ad unit”
- Then introduce the name of your advertising and customize it
- View details on the settings
- Choose the “Save” option and get the code
Once you have generated the AdSense code create a new HTML widget in your blog sidebar and add the AdSense code.
Your request will be automatically reviewed by Google which will take a couple of days and maybe more until you will get notified.
admin administrator
About the Author